
*This post contains affiliate links
Cutting a length of cloth of the loom is so exciting! But then what? If you're not leaving a fringe you have to finish the fabric somehow, and if you're cutting into it you may be afraid of unravelling. This is a great, easy method to use for either finishing to hem or if you need to cut into the fabric.
Firstly, once off the loom, the fabric needs to be wet finished and dried before you consider cutting.

When you've determined your cutting line (whether it's at the end of the fabric or somewhere else) cut a length of light, fusible interfacing the length of the cut and about 2 inches in width. It must be the fusible type or this won't work. Iron it so that your cutting line is roughly in the middle (so you have half of the interfacing on either side of the cut line). For me, the cut line was where the end of the woven fabric met the beginning of the fringe. Cover with a pressing cloth and iron until fused.

The underside of the fabric now looks like this, nothing is really visible from the front side.
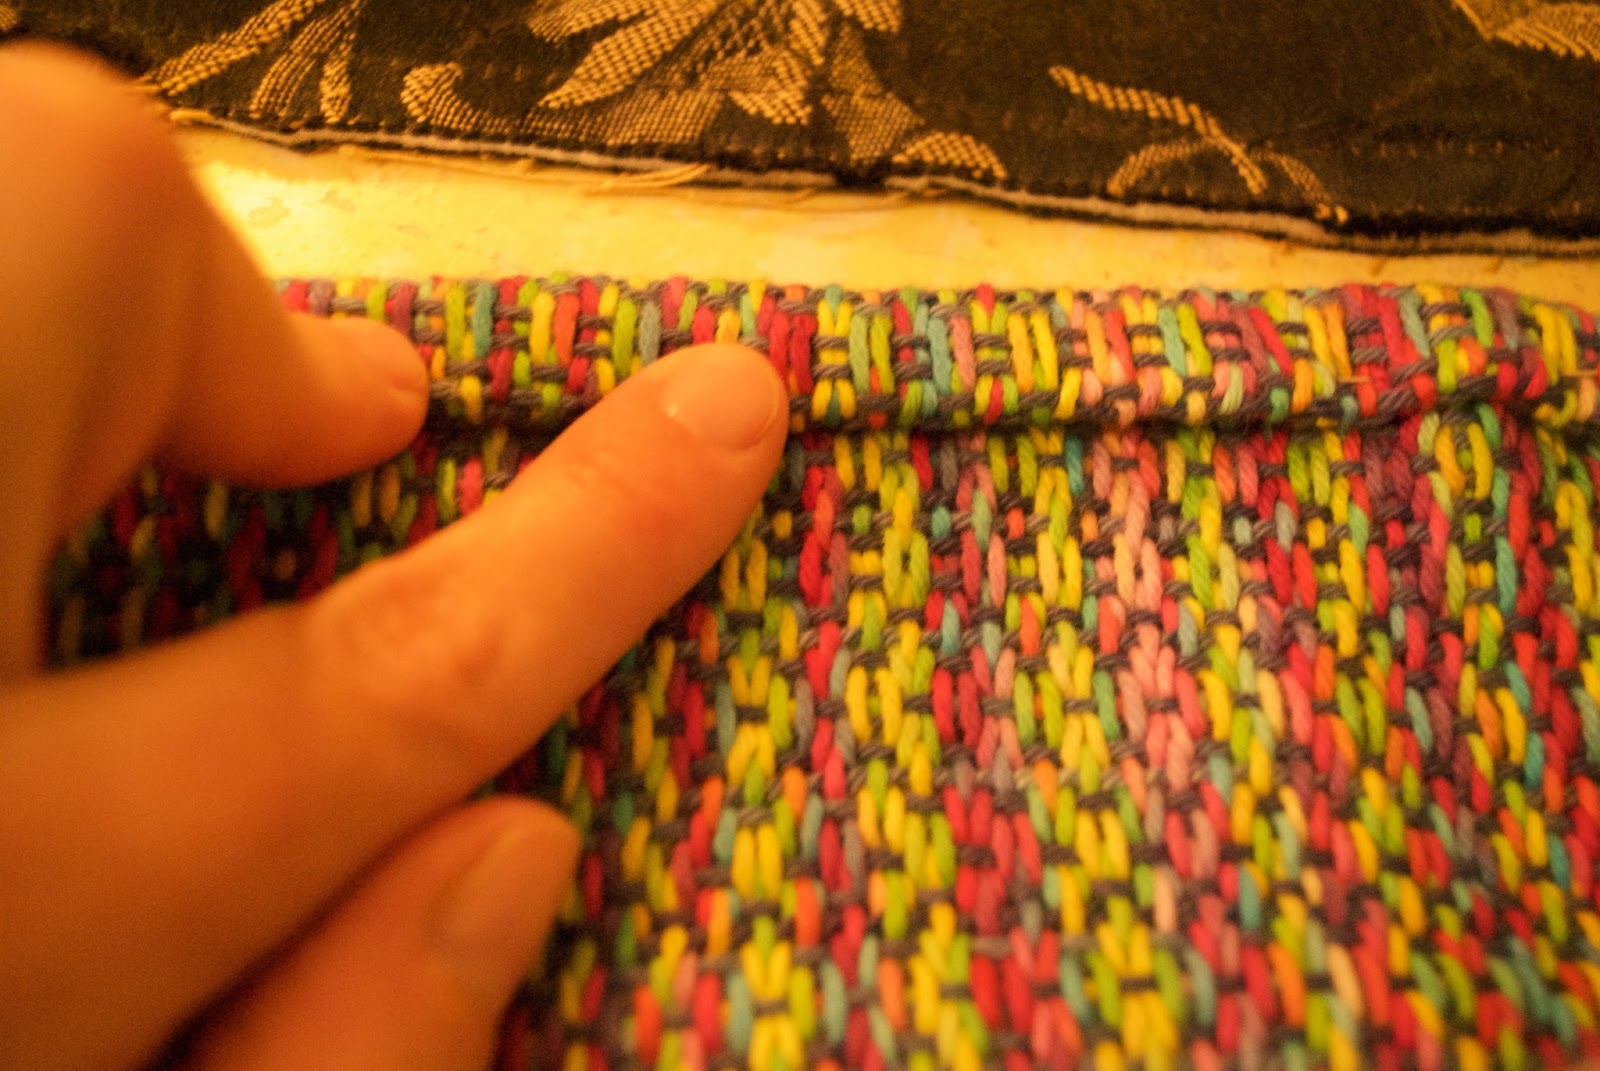
 Using your cutting line as a guide, serge right across. Can you see where the fringe begins and woven cloth ends? That was my guideline for serging. If you don't have a serger, a zigzag stitch on the sewing machine will suffice, but the serger definitely does a superior job. Janome is a reliable brand if you are in the market for a serger.
Now you have a neat serged edge. The threads are completely secure and haven't moved in the serging process due to the interfacing fixed in place. From this point you can go on to use your fabric according to your plans or begin to hem.

To finish the fabric with a hem, I fold over the serged edge once and iron down flat.
Then a second fold to enclose the serged edge and interfacing, press with the iron once again and pin in place if you wish.

Sewing the hem can be done by machine or hand. I used my machine with a straight stitch, close to the folded edge at the back. My machine is a very simple and straightforward Janome, although mine is an older model you can see something similar here.
Voila! Easy peasy and all secure, no loose or displaced threads and the interfacing gives extra support when hemming!
I have a Youtube video covering this topic for your further research.
I have a Youtube video covering this topic for your further research.


4 comments:
Kelly, that finish looks so neat. I do love your beautiful creations especially the colour combinations.
Hi Kelly, newbie weaver here. I will have 3 tea-towels on a rigid heddle when I finish. When I cut them off do I wash the fabric before I divide/cut them up? How do I stop the ends unravelling during the wet finish process- do I just do it very carefully or machine stitch along raw edge before washing? Thanks
Hi Eyejs, thank you for your comment, it's a good question.
Definitely wet finish and dry before sewing.
When I'm going to hem a piece or pieces I usually weave an inch or so on each end of a lighter yarn. This helps to reduce bulk when hemming and also seems to hold the threads together better as well.
If I'm doing a few towels on the same warp I leave a gap on the loom to separate them, about an inch is fine. Then when I cut them I have a bit more to play with - there is a small fringe through the finishing process and that helps to hold the threads together too.
I have a video about gaps here https://www.youtube.com/watch?v=kQFSr4G82gI
If you want to zigzag the raw edge before wet finishing you could try - I have found that it stretched the fabric a little so I don't get straight hems.
Hope all this helps (and makes sense!) Get back to me if you need to ask more.
Post a Comment