


It's high time for a tutorial here so I'll teach you one of the things I know best - dolls! This tutorial is for the style of doll you see above in a small size (9 - 10 inches). You can scale things up for a larger doll or just make a little one. They are great as a first doll for a younger child because there are no small bits as choking hazards. Please use this tutorial and pattern for personal use only :)
Today we make the head. I have a lot of pictures for beginners who want to have a go.
Materials list for head -
Finger bandage (or other bandage you can sew to size) approx 4 inches long x 1 & 3/4 inch wide
Approx 8 x 8 inch piece of cotton tricot
Clean, carded wool
Strong tying thread
Basic sewing kit and machine.

Your piece of bandage should fit comfortably over your index finger (to give an idea of width). Run a gathering stitch around one end with needle and thread, gather up tightly and knot.

Turn right side out (RSO)
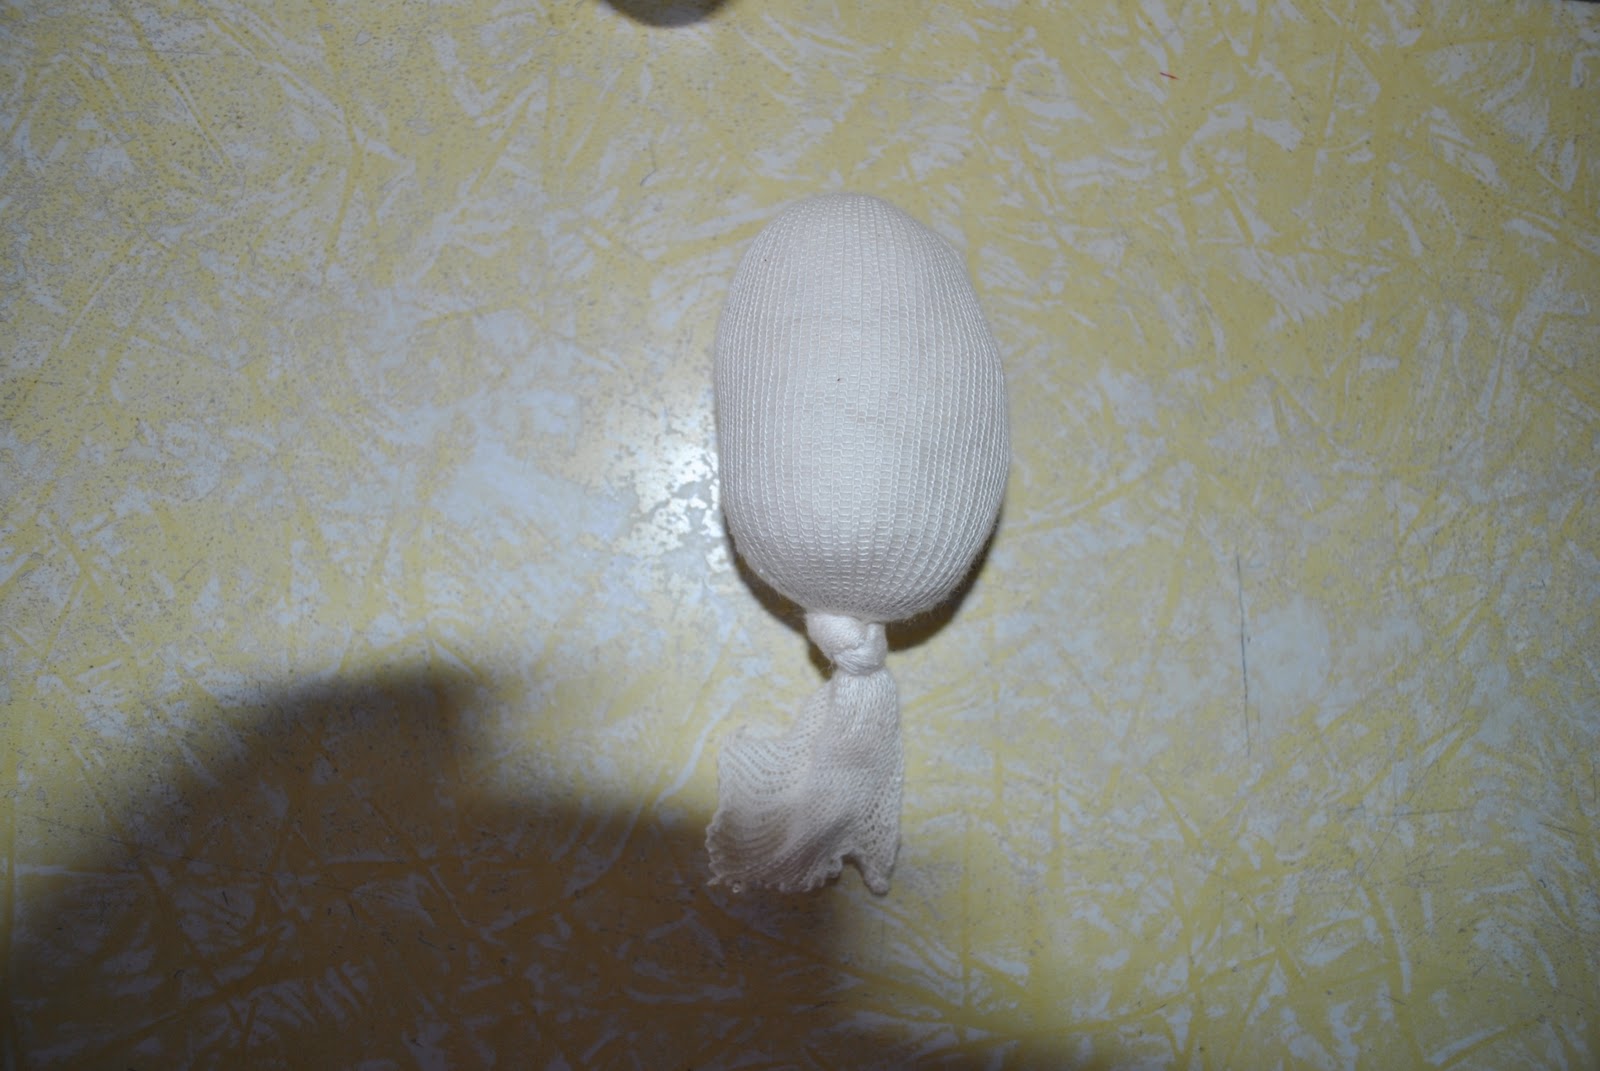
Stuff very firmly until the head measures about 4 inches from the top and tie into a knot to prevent the stuffing from slipping back down.


Now with the same thread tie half way between the top of the head and the first tie.


Place a couple of pins to hold the layers together. Don't cut this out! With your sewing machine set to a small stitch, using matching thread and with a ballpoint needle (important!) sew on the line you have drawn. Don't sew up the bottom as you'll need to fit this over the inner head. Cut out close to the stitches and turn RSO.

Fit over the inner head like so. A little peak of tricot will stick up at the top, pin it back.

Using your strong thread as before tie tightly around the neck with the knot to the back.
Using a few pins, play around with the placement of the facial features. See how close set eyes differ to....

..widely set eyes. Your choice.

Using the pins as your guide, draw some small circles at the eyes and mouth. Use a disappearing or water soluble pen, it makes life much easier when mistakes can be removed!

Using 2 strands of embroidery floss (knotted end) and entering from the back of the head come out at the top of one eye. Work sating stitch to fill in eye. Let the stitches float on the surface of the skin rather than pulling tight.
Here's a tip for needlework facial features: Use a larger (doll) needle to take the thread through the head. Once through, switch to a normal embroidery needle with a smallish eye. This works in 2 ways - you don't make too many larger holes in the skin so your stitches look neater and you never lose a needle inside the head!

For the mouth you really only need one straight stitch. Using matching thread, sew down that little peak at the top of the head I mentioned earlier, just some small, neat stitches to hold it down.
Well, there is your part 1, I really appreciate feedback for tutorials - even if it's just pointing out mistakes! So, let me know what you think.


7 comments:
thanks for doing a tute, I wont have a chance to make one of these for awhile, but your instructions look clear and I appreciate your effort
Oh, I recognise that little spotty dolly! She has become a constant companion - and is indeed a perfect first dolly! Great tute!
xxx
Curious....what size is the doll? 12inch? Thank you for taking the time to do this. I have made a 16 inch waldorf doll and have forgotten what size cloth to use for the head or how to reduce it.
Thanks for pointing that out Amber - the doll is roughly 9 - 10 inches.
Great instructions! Very clear...and helpful with all the pictures. Seeing the photos makes it seem like you're right there guiding us in making a doll.
Thank you. I am really looking forward to making my doll. I am actually jumping in feet first and going for making the first of 3 wise men for a Christmas stand (I hope) I needed to source ideas for face and hair. Your tutorials have been very enlightening. (from a fellow Aussie too!)
That sounds great Michelle, let me know how you get on and if you need any help :)
Post a Comment