A little upcycling

We often receive donations of clothing from others, which is really lovely and very kind, but often we have to pass the clothes on or make some adjustments due to immodest styles or slogans.


Lovely dress, lovely fabric, innapropriate style for a young lady.


Ditto.


Easy fix. Cut off the bodice, make a waist casing, insert elastic and you have a pretty, flouncy skirt.


Ditto :)

Smaller sized apron

The lovely Baukje likes my apron tute but wants to make a small apron for a grandchild turning 2 soon. So, here are the measurements you will need to make a smaller apron.

Size 2

Bodice - 8"x 5" - Cut 1 main fabric, 1 lining
Band - 21" x 2" - Cut 1 from contrast fabric
Skirt - 35" x 11" - Cut 1 main fabric
Bottom hem - 35" x 2.5" - Cut 1 from contrast
Back ties - 20" x 3" Cut 2 from contrast
Neck ties - 20" x 2.5" - Cut 2 from contrast

Best of luck with it Baukje :)

Oh, and a huge welcome to my newest followers, it's so very lovely to know I'm not just talking to myself here!

Little girl's apron tutorial


To fit approximately size 5, but is also multi fit.


Start with:

From main fabric -

11 x 7.5 " - Cut 2 (bodice)
45 x 13.5" - Cut 1 (skirt)

From contrasting fabric - 

25.5 x 3" - Cut 1 (waist band)
45 x 2.5" - Cut 1 (bottom of skirt)
24 x 3" - Cut 2 (waist ties)
22 x 2.5" - Cut 2 (neck ties)

*Please note that I refer to serging as overlocking throughout the tute (cos I'm Aussie!)


Take all the ties and press them in half. Open out, then press each long edge in 1/4 inch. Press one end in 1/4 inch also. Fold over in half again.


Topstitch down the length of both sides of each tie (including across the short edge you folded in) Overlock the short raw edges that you didn't fold in on each tie.


Pin the neck ties 1/2" in from the sides of one of the bodice pieces. Place the other bodice piece on top with right sides facing. Pin, then stitch around 3 sides, leaving the bottom open.


Turn right sides out and press. Topstitch around the 3 sides.


Take the skirt piece and the bottom skirt piece. Sew them together, right sides facing. Overlock the raw seams, then press open. Overlock the sides and bottom of the skirt also.


Run 2 lines of gathering stitches along the top of the skirt. Gather up until it is the same length as the waistband. Pin the waistband to the top of the skirt, right sides together.


Now take the bodice. Measure and mark the centre of the skirt and place the bodice in the centre, on top of the waistband which will be wrong side up. The bodice will be right sides facing with the skirt. Pin on and remove pins from underneath where you pinned on the waistband so that you don't sew over them!


Sew along the waistband and over the bodice from one edge of the skirt to the other. Overlock the raw seams.


Press. Now topstitch the top of the waistband to the bodice, sewing along the line you made previously. No need to topstitch the full length of the waistband, just at the bodice to attach them together.


Take the waist ties and sew to the edge of the waistband on each side.


Your apron now looks like this. The last step is to fold in the overlocked edges on each side of the skirt and topstitch. When you fold in the edges the ties will face outward and will be caught in the stitching. Add an extra short line of stitching to the tie to secure it more to the waistband if you wish.
Now fold up the hem and stitch.


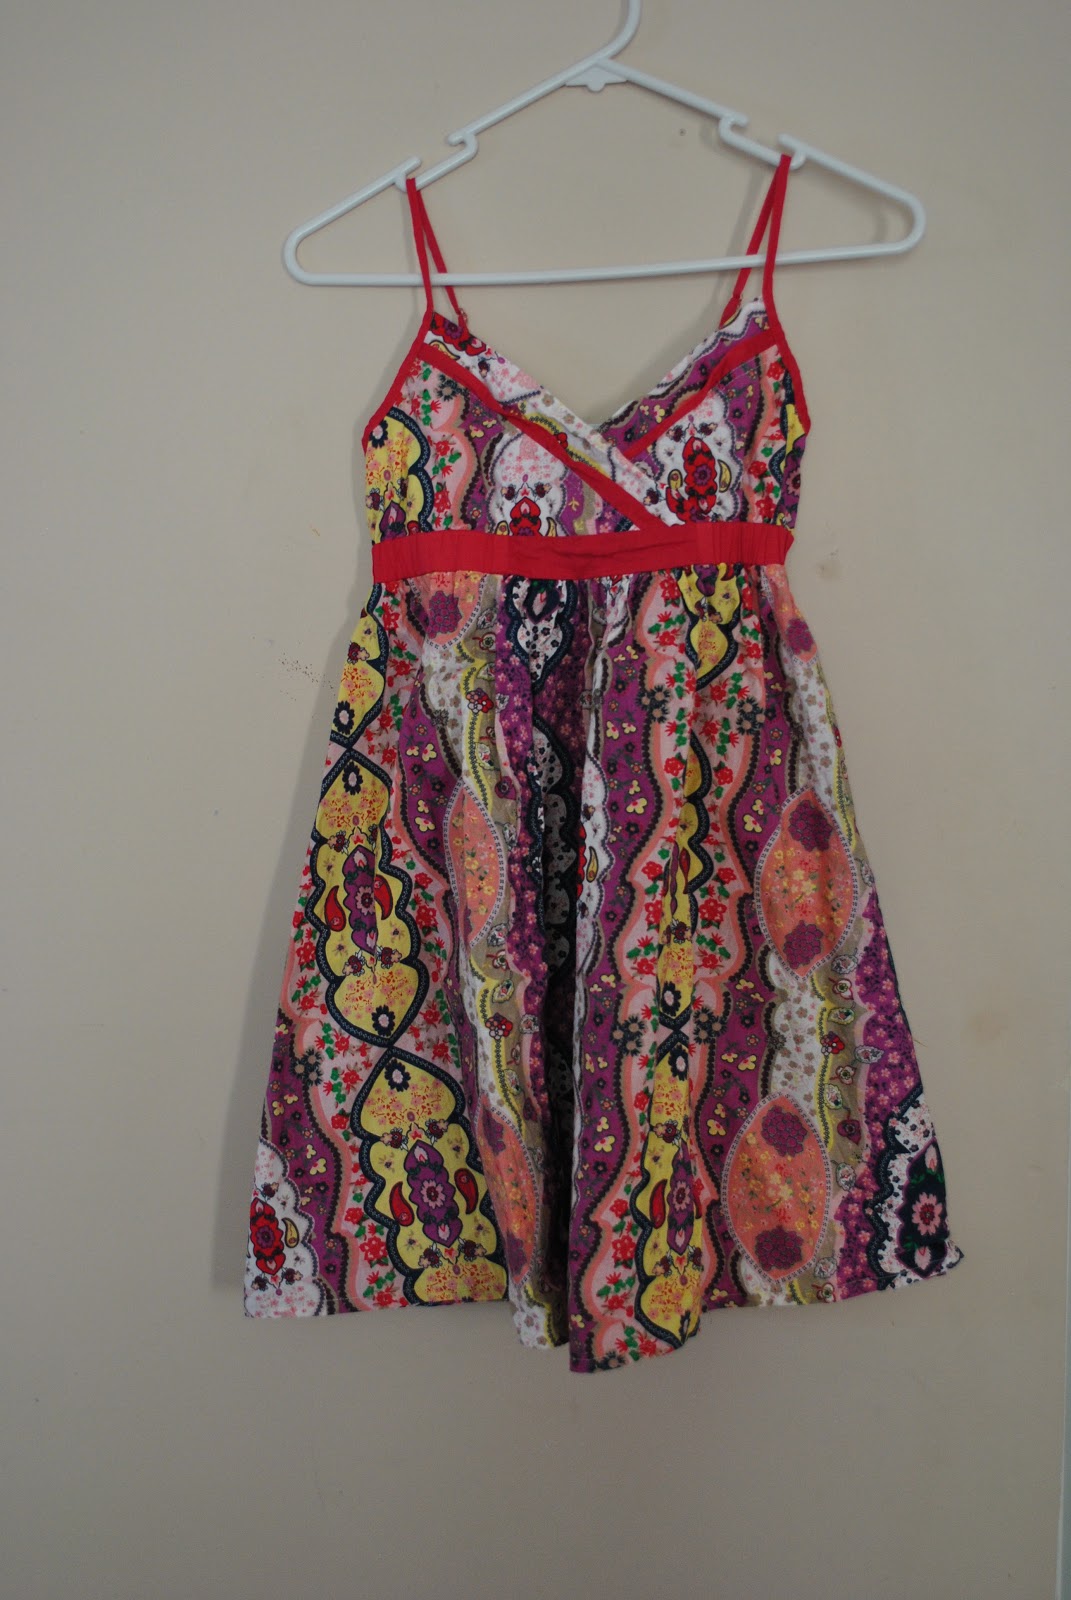
Lastly, give it to a little girl and make her smile!


I hope you enjoy this tutorial and make lots of pretty little aprons. I'd love to see what you make :)
You can use this tute for personal use and to make aprons to sell, provided you acknowledge me, Kelly Casanova as the original author. 

I'd really appreciate you letting me know of any mistakes or improvements - I'm no expert at writing tutes!


More buttons

The rest of the hand printed linen buttons are listed and available to buy now.


I couldn't resist putting these quirky ones in :)


If you like what you see, pop over to my Etsy shop for more photos and details.

Thanks for visiting and a happy and blessed weekend to you all!

Melbourne Aquarium


My Dad very kindly gifted us a family pass to the aquarium and we went along this week.


These little guys are so cute!

We did go when it first opened about 10 years ago and we were really impressed with how much it's improved.


Aren't jellyfish the most majestic creatures?


I really recommend a visit if you haven't already, there is so much to see and the huge glass room and tunnel are such a highlight. Some of the rays were absolutely massive and it's a wonderful experience to watch them floating overhead.

Hand printed buttons


I have a whole range of linen buttons hand printed with our original carved lino designs.

I'll be listing a bunch of them in my Etsy shop over the next couple of days.


These are available now :)


And these are too.

They come in a set of three and you're really only limited to your imagination when using them (if you're like me you collect buttons mostly just to look at!)

The post is cheap too ;)

You can check them out here.

While I'm here I'd like to welcome all who are new to my blog and thank you so very much for stopping by. If you stop by regularly but have never said hi, please do, I love to know who I'm talking to and it means I can visit you too :)

Embroidered house print


I've had this little print on calico for ages and I'm not sure why it took me so long to have a go, I guess I haven't really embroidered anything pre - printed before, so it seemed daunting.
I've been unwell the past couple of days and was looking for a project I could do in bed, so it seemed a perfect time to try this.


I've since decided that this is actually my dream house and I really should be living somewhere similar. Ah, well - one can dream, can't one?


I didn't plan and I just used what I had on hand. Some pretty silk ribbon, a little silk thread and plenty of good old fashioned DMC :)


I love how it turned out and I think I'll be looking for more pre printed panels, or if I get time I could attempt to draw my own from scratch, I've always had a real thing for drawing beautiful homes.

Now it just needs a nice frame, I'm thinking white and shabby?


This blog is closing!

All posts will now be found at my new site.  Click here to go the the new site.